How To Temper Chocolate Without Losing Your Temper
Chocolate Barks
While chocolate has been very, very good to me, I don’t consider it a friend, especially when it comes to making chocolates. It’s made me stomp, scream and cry. I’m certain that at least half my gray hairs are from chocolate. It’s like a friend that you only hang out with in small doses because you’re never sure whether you’ll have a good time or bad time. The good times are awesome, but the bad times totally suck. Chocolate is like that for me.
Even though I’ve been working with chocolate for 10 years, I still approach it with caution. What’s funny is before I got into the chocolate business, I hated working with chocolate because I couldn’t stand getting it on my hands. I’d do anything to avoid that and it is completely unavoidable. Whenever you work with chocolate, you may want to set up a Dexter-like kill scene… cover the walls, the floors and every surface you’re working on with the plastic… LOL! And you will still wind up with chocolate all over you.
You may wonder, “How did you ever wind up in the chocolate business?” All I can say is life works in mysterious ways…
When I decided to open my now defunct Divalicious Chocolate Café, in Manhattan, I had to learn how to make chocolate really fast. A month before I opened, I was in Australia. My ex-boyfriend, Pierre-Olivier Stinzy, has a chocolate business there called The Chocolate Lover. I begged him to teach me how to temper and make chocolate. The day he taught me was in the middle of Melbourne summer, about 100° F. Don’t do this!
Anytime you temper chocolate, you want to curry favor with the chocolate gods, by doing so in a cool room. There are many ways to temper chocolate. My favorite way is with a tempering machine… but I don’t always need 10 pounds of chocolate tempered and cleaning the machine = YIKES! I like this method because it’s easy and I can avoid putting my hands in the chocolate as much as possible.
Why Temper Chocolate
You temper chocolate to control the crystallization of the cocoa butter. If you just melt chocolate and let it cool without tempering it, the crystals of cocoa butter will be uneven sizes and your chocolate will be dull with patches of gray spots called bloom. Your chocolate will be crumbly and soft to the touch. Well tempered chocolate has glossy shine and a pleasing snap when you break it.
About Block Chocolate
Use the same type of block chocolate as the chocolate you’re making to temper it. For dark chocolate, you use dark chocolate. For milk chocolate, you use milk chocolate. For white chocolate, you use white chocolate. It doesn’t have to be the same brand of chocolate.
However, you can use white chocolate to temper milk chocolate and dark chocolate to temper milk chocolate, but know that some of the block chocolate will melt into the tempered chocolate and change it. Milk chocolate tempered with white chocolate will become a little milkier. When you use dark chocolate to temper milk chocolate it will become a little darker.
NOTE: Remember to only use real white, milk or dark chocolate to temper chocolate. Don’t use fake chocolate to temper real chocolate.
How To Temper Chocolate
Ingredients:
- 1 pound chocolate couverture buttons or chunks
- 1/3 pound of block tempered chocolate or bars in large pieces (about 4” don’t use small pieces or crumbs). Most chocolate you buy in a retail situation is tempered chocolate.
Tools:
- Silicone or rubber spatula
- Digital thermometer
Melt The Chocolate
Oven - Toaster Oven Method: Preheat oven to lowest temperature (mine has a WARM setting). Place chocolate in a stainless steel bowl. Heat, stirring at 5 minute intervals. When chocolate is 75% melted, remove the bowl from the oven and let chocolate melt from residual heat.
Double Boiler Method: Place chocolate in the top of a double boiler or in a stainless steel or heat-proof bowl over a saucepan of just simmering water. The upper pan or bowl should not touch the water. Stir with the spatula every few minutes. When chocolate is 75% melted, remove the bowl from the heat source and let chocolate melt from it’s residual heat.
Microwave Method: Place chocolate in a glass or microwaveable bowl. Microwave at 2 minute intervals at 50% power for dark chocolate or 2 minute intervals at 30% power for milk and white chocolate. Stir chocolate with the spatula and measure the temperature of the chocolate between each interval. When chocolate is 75% melted, remove the bowl from the microwave and let chocolate melt from it’s residual heat.
Dark chocolate needs to be at least 115° F degrees to insure that all the chocolate is melted. Milk or white chocolate needs to be at least 110° F degrees to insure that all the chocolate is melted. Remove chocolate from heat.
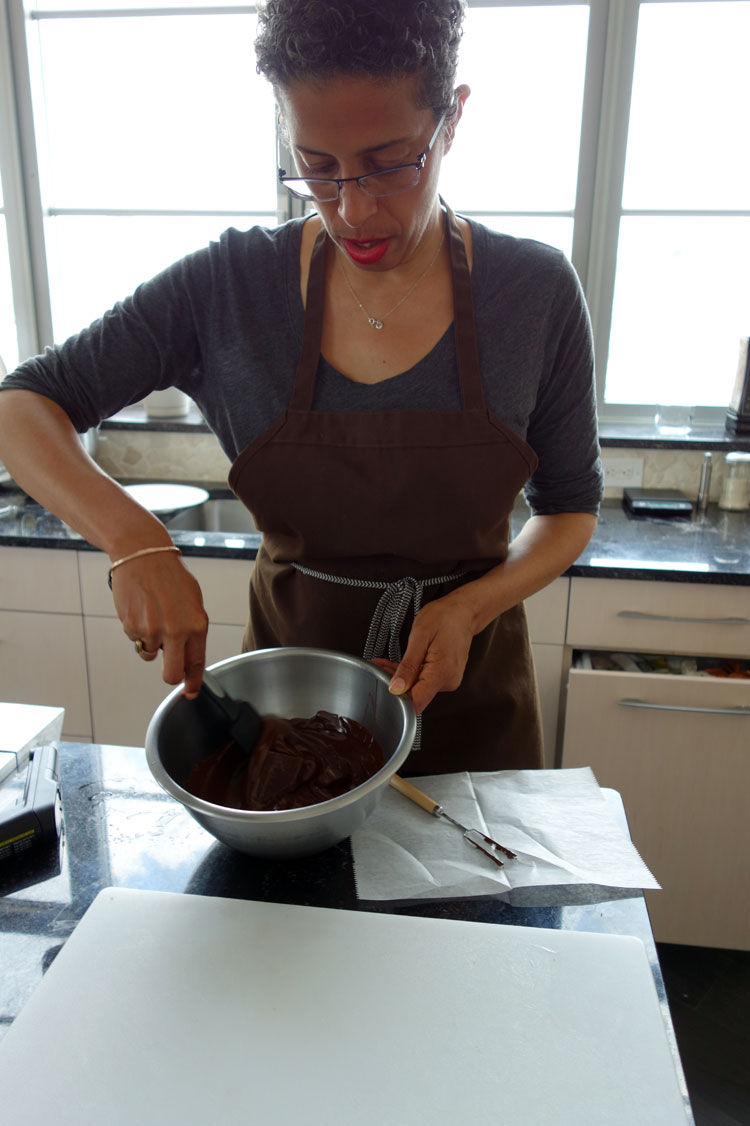
Once the chocolate is melted, add the block chocolate pieces to the melted chocolate and cool the chocolate by stirring periodically with the spatula and using your digital thermometer to check the temperature of the chocolate. It will take 10 to 15 minutes. Once the chocolate mixture reaches 90°F degrees, remove the pieces of block chocolate that are not melted. You can reserve them as seed chocolate for your next chocolate tempering session if they are large enough or chop them up and melt them as your next base chocolate.
Continue to stir and cool the chocolate to 88°F degrees for dark chocolate and 86°F degrees for milk or white chocolate.
Once you reach the desired temperature, make your chocolates and place them on prepared trays. Snap cool your chocolates for 5 minutes in the refrigerator and then cool at room temperature until hard. Store chocolate in a cool place.
KEEPING CHOCOLATE IN TEMPER
While making your chocolates you to keep the tempered chocolate warm so it stays tempered.
Dark Chocolate should stay between 88 - 91°F
Milk Chocolate and White Chocolate should stay between 86 - 88° F
Heating Pad Method
Place the bowl of chocolate on a heating pad set to low and stir to keep chocolate in the temperature range as needed.
Bowl Method
Place the bowl of chocolate over, not in, a bowl of warm, not hot water and stir to keep chocolate in the temperature range as needed.
Comments
No comments have been posted.
Post a Comment
The commenting period has expired for this post.